
nikon em user manual
Welcome! This manual unlocks the Nikon EM’s potential, offering a detailed guide to its features. Explore news, sports, and lifestyle updates via MSN, alongside your camera’s journey.
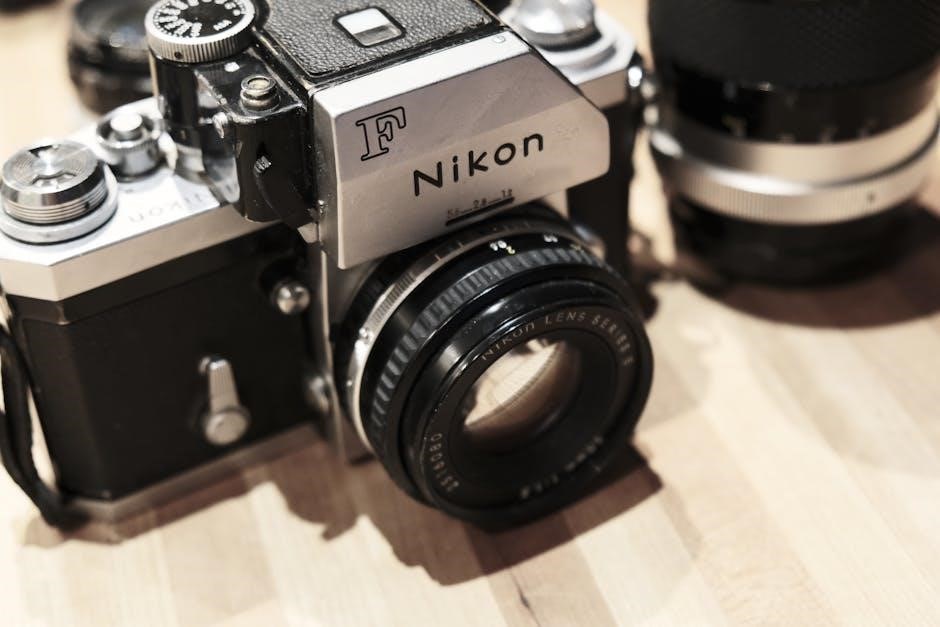
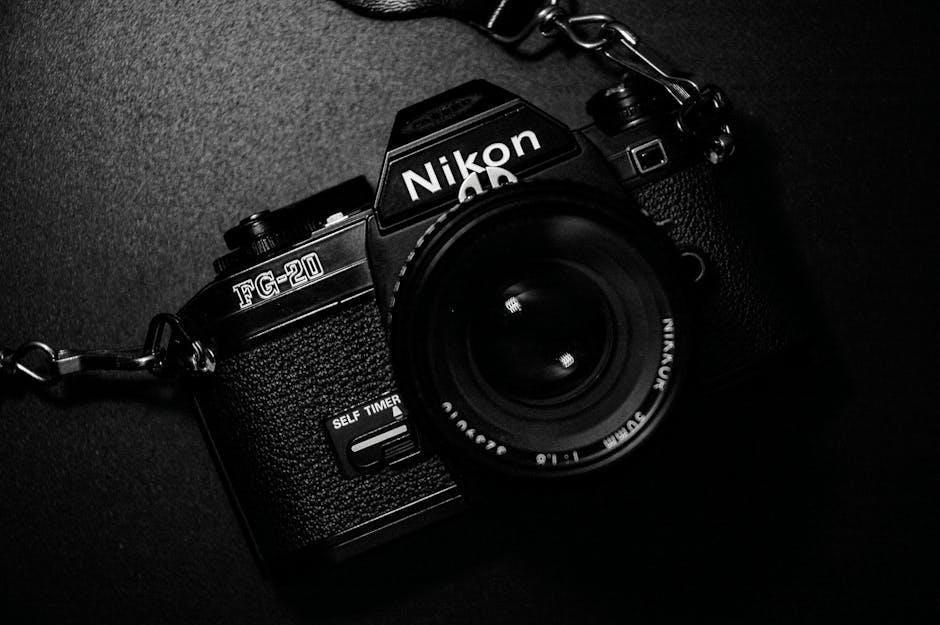
What is the Nikon EM?
The Nikon EM, released in 1979, represents a pivotal point in Nikon’s history – it was their most affordable SLR at the time, designed to broaden access to high-quality photography. This camera isn’t just a piece of equipment; it’s a gateway to a classic photographic experience. It’s a fully mechanical camera with electronic shutter speed control, offering a unique blend of reliability and convenience.
Unlike some of its contemporaries, the EM doesn’t rely heavily on batteries for core functionality, making it a dependable choice even when power sources are limited. It’s a 35mm film camera compatible with a vast range of Nikon Nikkor lenses, allowing for creative exploration. Staying informed with resources like MSN provides context to the era in which this camera thrived, a time of evolving technology and a growing passion for visual storytelling. The Nikon EM is a robust and user-friendly camera, perfect for both beginners and experienced photographers seeking a tactile and rewarding shooting experience.
Key Features and Benefits
The Nikon EM boasts several standout features. Its electronically controlled, yet mechanically reliable, shutter offers precise exposure control. A key benefit is its compatibility with the extensive Nikon Nikkor lens system, providing unparalleled versatility. The built-in exposure meter simplifies achieving correctly exposed images, even in challenging lighting conditions.
Furthermore, the EM’s relatively lightweight and compact body makes it comfortable to handle for extended periods. Staying connected to current events, like those reported on MSN, parallels the EM’s ability to capture moments in time. Its simple, intuitive controls make it an excellent learning tool for aspiring photographers. The camera’s durability ensures it can withstand regular use, and its mechanical core functions even with a depleted battery; Ultimately, the Nikon EM delivers a classic photographic experience with modern convenience, offering exceptional value and creative potential.
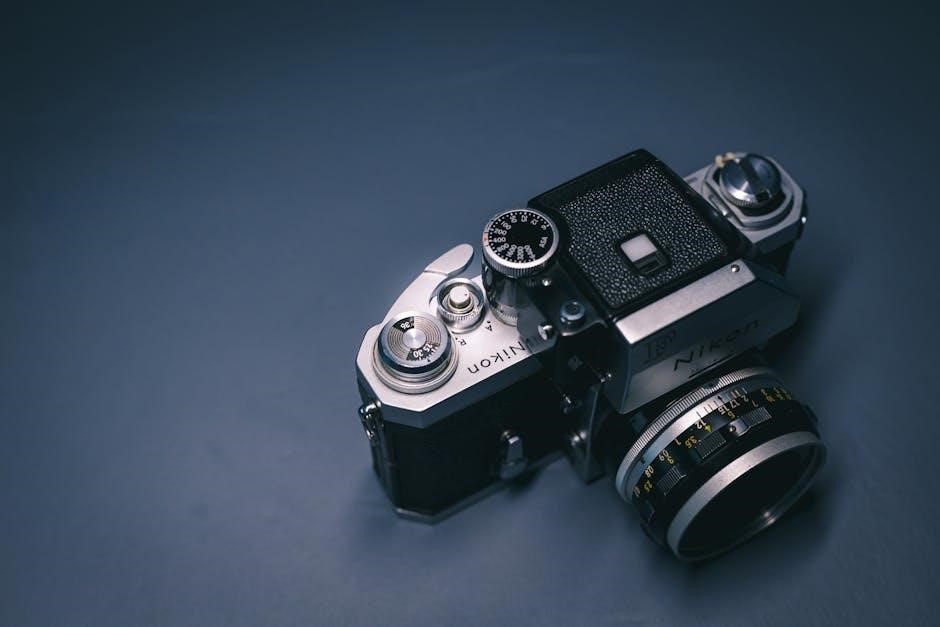
Historical Context of the Nikon EM
Introduced in 1979, the Nikon EM represented Nikon’s entry into the more affordable SLR market. It was designed as a simplified, user-friendly alternative to the more professional Nikon FE and FM models. This strategic move aimed to broaden Nikon’s appeal to amateur photographers and enthusiasts. The EM’s electronic shutter, while innovative, was a departure from Nikon’s traditionally fully mechanical designs, offering a balance between automation and reliability.
Contemporary sources, like those found on MSN, reflect the era’s growing interest in accessible technology. The EM quickly gained popularity for its ease of use and affordability, becoming a favorite among photography students and hobbyists. Despite initial concerns about the electronic components, the EM proved to be a robust and dependable camera. It remains a significant model in Nikon’s history, bridging the gap between fully mechanical and electronically assisted SLRs, and continues to be appreciated by film photographers today.
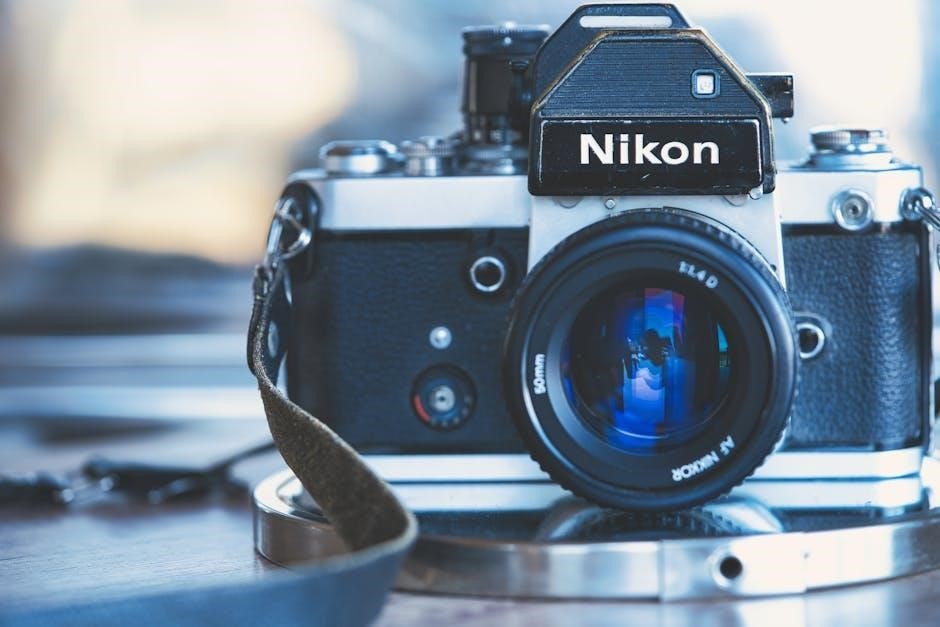
Understanding the Camera Body
Explore the Nikon EM’s design! Discover component locations and control layouts, mirroring the accessible tech focus seen on platforms like MSN today.
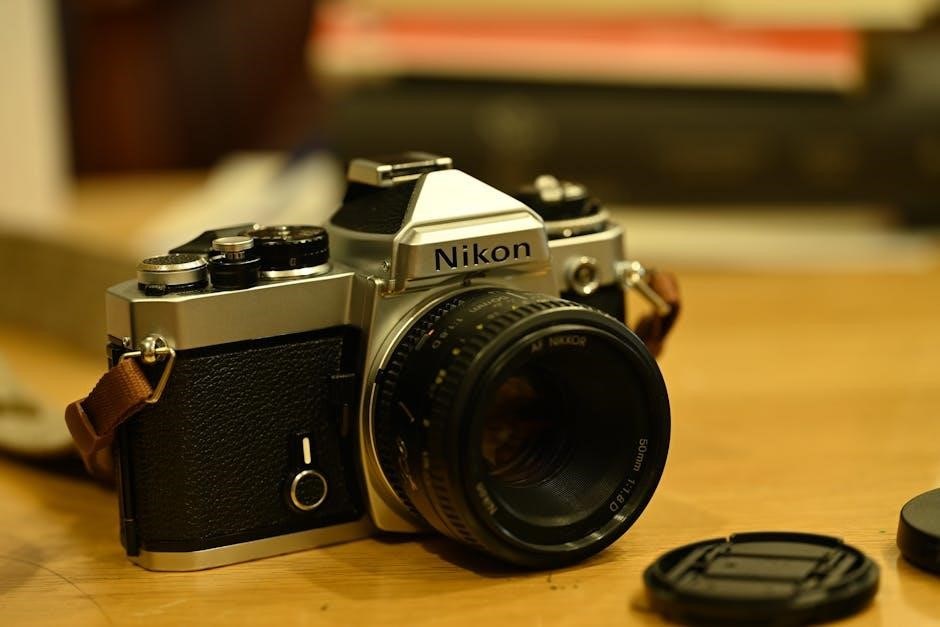
Front and Rear Views – Component Identification
Let’s identify key components! On the front, locate the lens mount – crucial for attaching Nikkor lenses, offering diverse photographic options. Observe the self-timer/remote control release, and the depth-of-field preview lever. The rear panel houses the film rewind knob and crank, essential for loading and advancing film.
You’ll also find the film door release, the viewfinder window, and the PC flash sync terminal. Note the hot shoe for external flash units, expanding your lighting capabilities. The film pressure plate and sprockets ensure smooth film transport. Familiarizing yourself with these elements, akin to navigating MSN’s interface, is vital for efficient operation. Understanding each part’s function unlocks the Nikon EM’s full potential, allowing for creative control and seamless shooting experiences. Remember to consult diagrams for precise locations.
Top and Bottom Views – Control Locations
Exploring the controls! The top deck features the main command dial for shutter speed selection, ranging from bulb to 1/1000th of a second; Adjacent is the film advance lever, smoothly propelling film through the camera. Locate the shutter release button, and the rewind crank for retrieving film. The ASA/ISO dial sets film sensitivity, crucial for proper exposure, much like customizing your MSN news feed.
On the bottom, you’ll find the battery compartment, housing the PX28 battery powering the electronic shutter. The tripod socket allows for stable long exposures. Understanding these control locations is paramount for intuitive operation. Mastering their placement enables quick adjustments, allowing you to capture fleeting moments with precision. Refer to diagrams for clarity, and practice locating controls without looking – a skill that enhances your photographic flow.
The Viewfinder – What You See
Peering through the lens! The Nikon EM’s viewfinder presents a bright, clear view of your subject, displaying approximately 93% of the actual image area. Within the frame, you’ll observe the focusing screen, aiding in precise manual focus. Look for the microprism collar in the center, which splits the image for sharper focusing confirmation – similar to quickly scanning headlines on MSN.
The viewfinder also houses the LED exposure indicators. These illuminate to guide your exposure settings, indicating overexposure, underexposure, or correct exposure. Remember, these are based on the selected metering mode. Familiarize yourself with these indicators; they are vital for achieving well-exposed photographs. Practice composing shots and observing the viewfinder display to develop a natural understanding of its information.
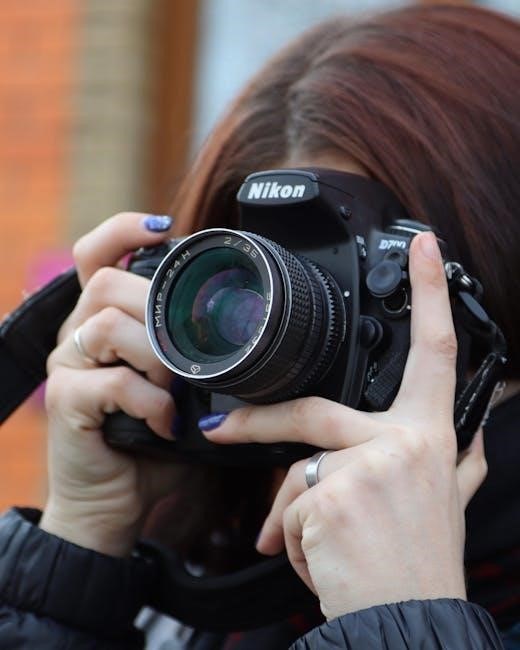
Operating the Nikon EM
Let’s begin! This section details the practical steps for using your Nikon EM, from film loading to mastering exposure settings, ensuring optimal results.
Loading Film – Step-by-Step Guide
Preparing to Shoot: Begin by opening the camera back using the film release lever. Insert a 35mm film cartridge into the film chamber, ensuring the spool teeth engage correctly. Gently guide the film leader across the camera body towards the take-up spool.
Threading the Film: Carefully thread the film leader into one of the slots on the take-up spool. Advance the film by using the film advance lever, observing the rewind knob turning to confirm proper loading. Continue advancing and checking until the perforations are securely gripped by the sprockets.
Closing and Resetting: Close the camera back firmly until it latches. The film counter will automatically reset to ‘S’. Advance the film two or three times and press the shutter release without film in order to advance past the exposed leader. Your Nikon EM is now ready for capturing memories!
Setting ISO – Sensitivity Adjustment
Understanding ISO: The ISO setting determines your camera’s sensitivity to light; Lower ISO values (e.g., 100) are ideal for bright conditions, producing finer grain images. Higher ISO values (e.g., 400, 800) are suited for low-light situations, but may introduce more noticeable grain.
Adjusting the ISO Dial: Locate the ISO dial, typically positioned on the camera’s top plate. Rotate the dial to align the desired ISO value with the indicator mark. The Nikon EM supports a range of common ISO settings, allowing flexibility in various shooting environments.
Matching ISO to Film: Ensure the selected ISO setting on the camera matches the ISO rating of the film loaded inside. Incorrect settings will result in under or overexposed photographs. Regularly check and adjust the ISO as needed when changing film types.
Aperture and Shutter Speed – Understanding Exposure
Exposure Triangle: Proper exposure relies on balancing aperture and shutter speed. Aperture controls the lens opening, influencing depth of field – a wider aperture (lower f-number) creates shallow focus, while a narrower aperture (higher f-number) yields greater depth of field.
Shutter Speed Control: Shutter speed dictates how long the camera’s sensor is exposed to light. Faster shutter speeds freeze motion, while slower speeds allow more light in, potentially causing motion blur. The Nikon EM allows manual control over both settings.
Metering as a Guide: Utilize the camera’s built-in light meter as a starting point. Adjust aperture and shutter speed based on the meter’s reading and your desired creative effect. Remember to consider the interplay between these settings for optimal results, staying informed with resources like MSN.
Focusing – Manual Focus Techniques
Precise Focusing: The Nikon EM relies on manual focusing, demanding practice and a keen eye. Observe the image in the viewfinder; rotate the focusing ring on the lens until your subject appears sharpest. Utilize the split-image rangefinder in the viewfinder – align the split images for accurate focus.
Depth of Field Awareness: Consider depth of field when focusing. For landscapes, a smaller aperture (larger f-number) and focusing at one-third into the scene maximizes sharpness. For portraits, a wider aperture (smaller f-number) isolates the subject, creating a blurred background.
Practice and Patience: Mastering manual focus takes time. Regularly practice focusing on various subjects and distances. Stay updated with news and information via MSN while honing your skills, improving your photographic precision.
Advanced Features & Settings
Explore Further: Dive into metering modes, exposure compensation, and the self-timer. Enhance your photography with these settings, staying informed with MSN updates.
Depth of Field – Controlling Focus Area
Understanding Depth of Field: Depth of field (DoF) is the distance between the nearest and farthest objects in a scene that appear acceptably sharp in an image. Controlling DoF is crucial for creative photography, allowing you to emphasize specific subjects or create a sense of spaciousness.
Aperture’s Role: The primary control for DoF on the Nikon EM is the aperture setting on your lens. A wider aperture (smaller f-number, like f/2.8) results in a shallow depth of field – ideal for isolating a subject with a blurred background (bokeh). Conversely, a narrower aperture (larger f-number, like f/16) yields a large depth of field, keeping more of the scene in focus, perfect for landscapes.
Focus Distance: Your focusing distance also impacts DoF. The closer you focus, the shallower the depth of field becomes. Experiment with different focus points to see how it affects the sharpness throughout your image. Remember to check MSN for photography inspiration and news!
Practical Application: For portraits, use a shallow DoF to blur the background and draw attention to the subject’s face. For group photos or landscapes, use a larger DoF to ensure everyone and everything is sharp.
Metering Modes – Choosing the Right Mode
Understanding Metering: The Nikon EM’s light meter helps determine the correct exposure settings; However, it doesn’t always “know” what you intend to photograph. Choosing the right metering mode is vital for accurate exposures, especially in challenging lighting situations. Staying informed with news from MSN can inspire your photographic vision!
Available Modes: The EM offers two primary metering modes: Averaging and Spot. Averaging meters the entire frame, suitable for scenes with even lighting. Spot metering measures light from a very small area (around 5% of the frame), ideal for subjects strongly backlit or with high contrast.
When to Use Each Mode: Use Averaging for general scenes. Employ Spot metering when your subject is significantly brighter or darker than its surroundings. For example, photographing a person against a bright sky.
Practical Tips: Always double-check your meter reading and consider using exposure compensation (see section on Exposure Compensation) to fine-tune the exposure based on your artistic intent and the scene’s specific characteristics.
Exposure Compensation – Adjusting for Difficult Lighting
Why Use Exposure Compensation? The Nikon EM’s meter can be fooled by scenes with unusual brightness levels – very bright or very dark subjects. Exposure compensation allows you to override the meter’s reading, ensuring properly exposed photographs. Staying updated with MSN news can provide diverse visual inspiration!
How it Works: The EM’s exposure compensation dial, marked with + and – values, adjusts the exposure. Positive values (+1, +2) brighten the image, while negative values (-1, -2) darken it. Each step typically represents one stop of light.
Common Scenarios: Use positive compensation for snowy scenes (the meter thinks it’s darker than it is) or dark subjects against a bright background. Use negative compensation for very bright scenes, like a beach with white sand, or light subjects against a dark background.
Experimentation is Key: Start with small adjustments (+/- 0.5 or 1 stop) and review your results. Practice will help you develop an intuitive understanding of when and how to use exposure compensation effectively.
Self-Timer – Using the Delay Function
What is the Self-Timer? The Nikon EM’s self-timer allows you to delay the shutter release, perfect for group photos where you want to be included, or to minimize camera shake when using slow shutter speeds. Staying informed with MSN’s latest updates can inspire creative photo opportunities!
Activating the Self-Timer: Locate the self-timer lever on the front of the camera. Move it to the ‘T’ position. The shutter release button will now activate the timer instead of immediately taking a picture.
Timer Duration: The EM’s self-timer offers a roughly 10-second delay. A small indicator light on the top plate will illuminate during the countdown. Use this time to compose your shot and get into position.
Cancelling the Timer: To cancel the self-timer before it fires, simply return the lever to its original position. Remember to check MSN for weather updates before heading out for your self-portrait session!
Maintenance and Troubleshooting
Keep it Clean! Regular cleaning and prompt attention to issues ensure your Nikon EM continues delivering stunning images, just like staying updated with MSN.
Cleaning the Nikon EM – Proper Techniques
Gentle is Key: Maintaining your Nikon EM’s pristine condition requires delicate cleaning practices. Always begin by powering off the camera and removing the battery. Use a soft-bristled brush, like a lens brush, to gently remove dust and debris from the body, viewfinder, and lens surfaces. Avoid applying excessive pressure.
Lens Care: For lens cleaning, employ dedicated lens cleaning fluid and microfiber cloths. Apply a small amount of fluid to the cloth, not directly onto the lens. Wipe in a circular motion, starting from the center and moving outwards. Stubborn smudges may require a second, clean cloth.
Body Cleaning: A slightly damp (with distilled water) microfiber cloth can be used to wipe down the camera body. Avoid getting moisture into any openings. Never use harsh chemicals, solvents, or abrasive cleaners, as these can damage the finish. Regular, gentle cleaning, much like staying informed with MSN updates, will preserve your camera’s longevity and performance.
Common Problems and Solutions
Film Advance Issues: If the film isn’t advancing, check the battery – a weak battery is a frequent culprit. Also, ensure the film is loaded correctly and the film leader is properly engaged with the take-up spool. Gently try manually advancing the film.
Light Leaks: Light leaks often indicate a problem with the light seals. These seals degrade over time and can be replaced (DIY kits are available). Avoid prolonged exposure to direct sunlight to minimize seal deterioration.
Viewfinder Darkness: A dim viewfinder can be caused by a dirty focusing screen or a malfunctioning mirror. Cleaning the screen carefully can help. If the problem persists, professional servicing may be required. Staying updated, like with MSN news, requires clear vision – and so does your camera!
Shutter Problems: If the shutter isn’t firing, double-check the battery and ensure the camera isn’t in self-timer mode. If issues continue, professional repair is recommended.
Battery Information and Replacement
Battery Type: The Nikon EM utilizes a 4LR44 or equivalent 6V silver oxide battery. Alkaline batteries are not recommended as they often don’t provide sufficient voltage for reliable operation, especially in colder temperatures. Consistent power, much like staying informed with MSN updates, is crucial.
Replacement Procedure: Locate the battery compartment on the bottom of the camera. Use a small screwdriver to open the compartment cover. Remove the old battery, observing the correct polarity (+ and -). Insert the new battery, ensuring correct orientation. Securely close the compartment cover.
Battery Life: Battery life varies depending on usage. Expect approximately 1-2 rolls of 36-exposure film per battery. Regularly check the battery indicator in the viewfinder. A flashing indicator signals low battery and the need for replacement. Proper battery maintenance ensures your Nikon EM is always ready to capture moments.
Accessories and Further Resources
Expand your experience! Explore Nikkor lenses, filters, and cases. Discover online communities and resources – like MSN – for support and inspiration.
Compatible Lenses – Nikon Nikkor Options
Nikkor lenses represent a cornerstone of the Nikon EM system, offering a vast array of choices to suit diverse photographic needs. The Nikon EM, utilizing the Nikon F-mount, is compatible with a huge selection of Nikkor lenses – both older manual focus lenses and newer autofocus lenses (though autofocus functionality won’t be available on the EM itself).
Early Nikkor lenses, like the 50mm f/2, 35mm f/2.8, and 135mm f/2.8, are highly regarded for their optical quality and relatively affordable prices on the used market. These lenses provide excellent sharpness and character. Later Nikkor lenses, including those with ED (Extra-low Dispersion) glass and aspherical elements, offer even greater performance.
Consider exploring lenses from the Nikkor-P, Nikkor-H, and Nikkor-AI series. Remember to check compatibility charts to ensure proper operation, especially with older lenses. Resources like MSN can help you research lens options and find user reviews. Adapting lenses from other systems is also possible with appropriate adapters, expanding your creative possibilities even further.
Recommended Accessories – Filters, Cases, etc.
Enhance your Nikon EM experience with carefully selected accessories. A UV filter protects your lens from scratches and dust, while a polarizing filter reduces glare and enhances colors, particularly in landscapes. A skylight filter can subtly warm tones. Consider a lens hood to minimize flare and improve contrast in bright conditions.
Protect your investment with a quality camera case – a soft case offers lightweight portability, while a hard case provides superior impact resistance. Extra batteries are essential for extended shooting sessions, and a cable release minimizes camera shake during long exposures.
Explore light meters for more precise exposure control, especially in challenging lighting situations. Websites like MSN offer reviews and comparisons of various accessories. Don’t forget a comfortable camera strap and lens cleaning kit to keep your equipment in top condition. These additions will significantly improve your photographic workflow.
Online Resources and Communities
Expand your knowledge and connect with fellow Nikon EM enthusiasts online! Numerous forums and communities dedicated to classic film cameras offer invaluable support, troubleshooting advice, and shared experiences. Websites like Flickr host galleries showcasing stunning images captured with the Nikon EM, providing inspiration and technical insights.
YouTube channels feature tutorials on everything from film loading to advanced shooting techniques. Platforms like MSN provide links to relevant articles and resources. Explore dedicated Nikon websites for detailed specifications and historical information.
Facebook groups offer a vibrant space for discussion and gear exchange. Don’t hesitate to ask questions and share your work – the community is generally very welcoming and helpful. These online resources will significantly enhance your learning curve and enjoyment of your Nikon EM.